Dirga Pranayama
(By Ella Forbes)
The ‘complete breath’ or the three-part breath’. Dirga (also spelt as Dirgah and Deerga) can be translated to ‘long’, ‘slow’, ‘complete’ and ‘deep’.
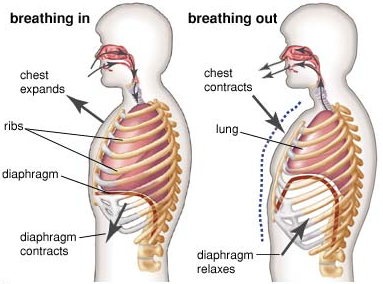
A good deep breath has a lot (!) of positive affects; including allowing the body to use the parasympathetic nervous system which calms and relaxes us as well as eliminating toxins from the blood stream, assisting with digestion, and stimulating the blood circulation. It helps muscles and skin stay healthy, rejuvenating the glands (the brain requires three times more oxygen then the rest of the body) and reducing blood pressure.
How to practice!
-Find yourself a comfortable position
This can be any position with the spine straight, seated or even lying down. (Focusing on this Pranayama exercise is simpler when lying down. It’s easier to feel the rise and fall of the breath as you do not be needing to consciously activating muscles to hold yourself up in a seated position.)
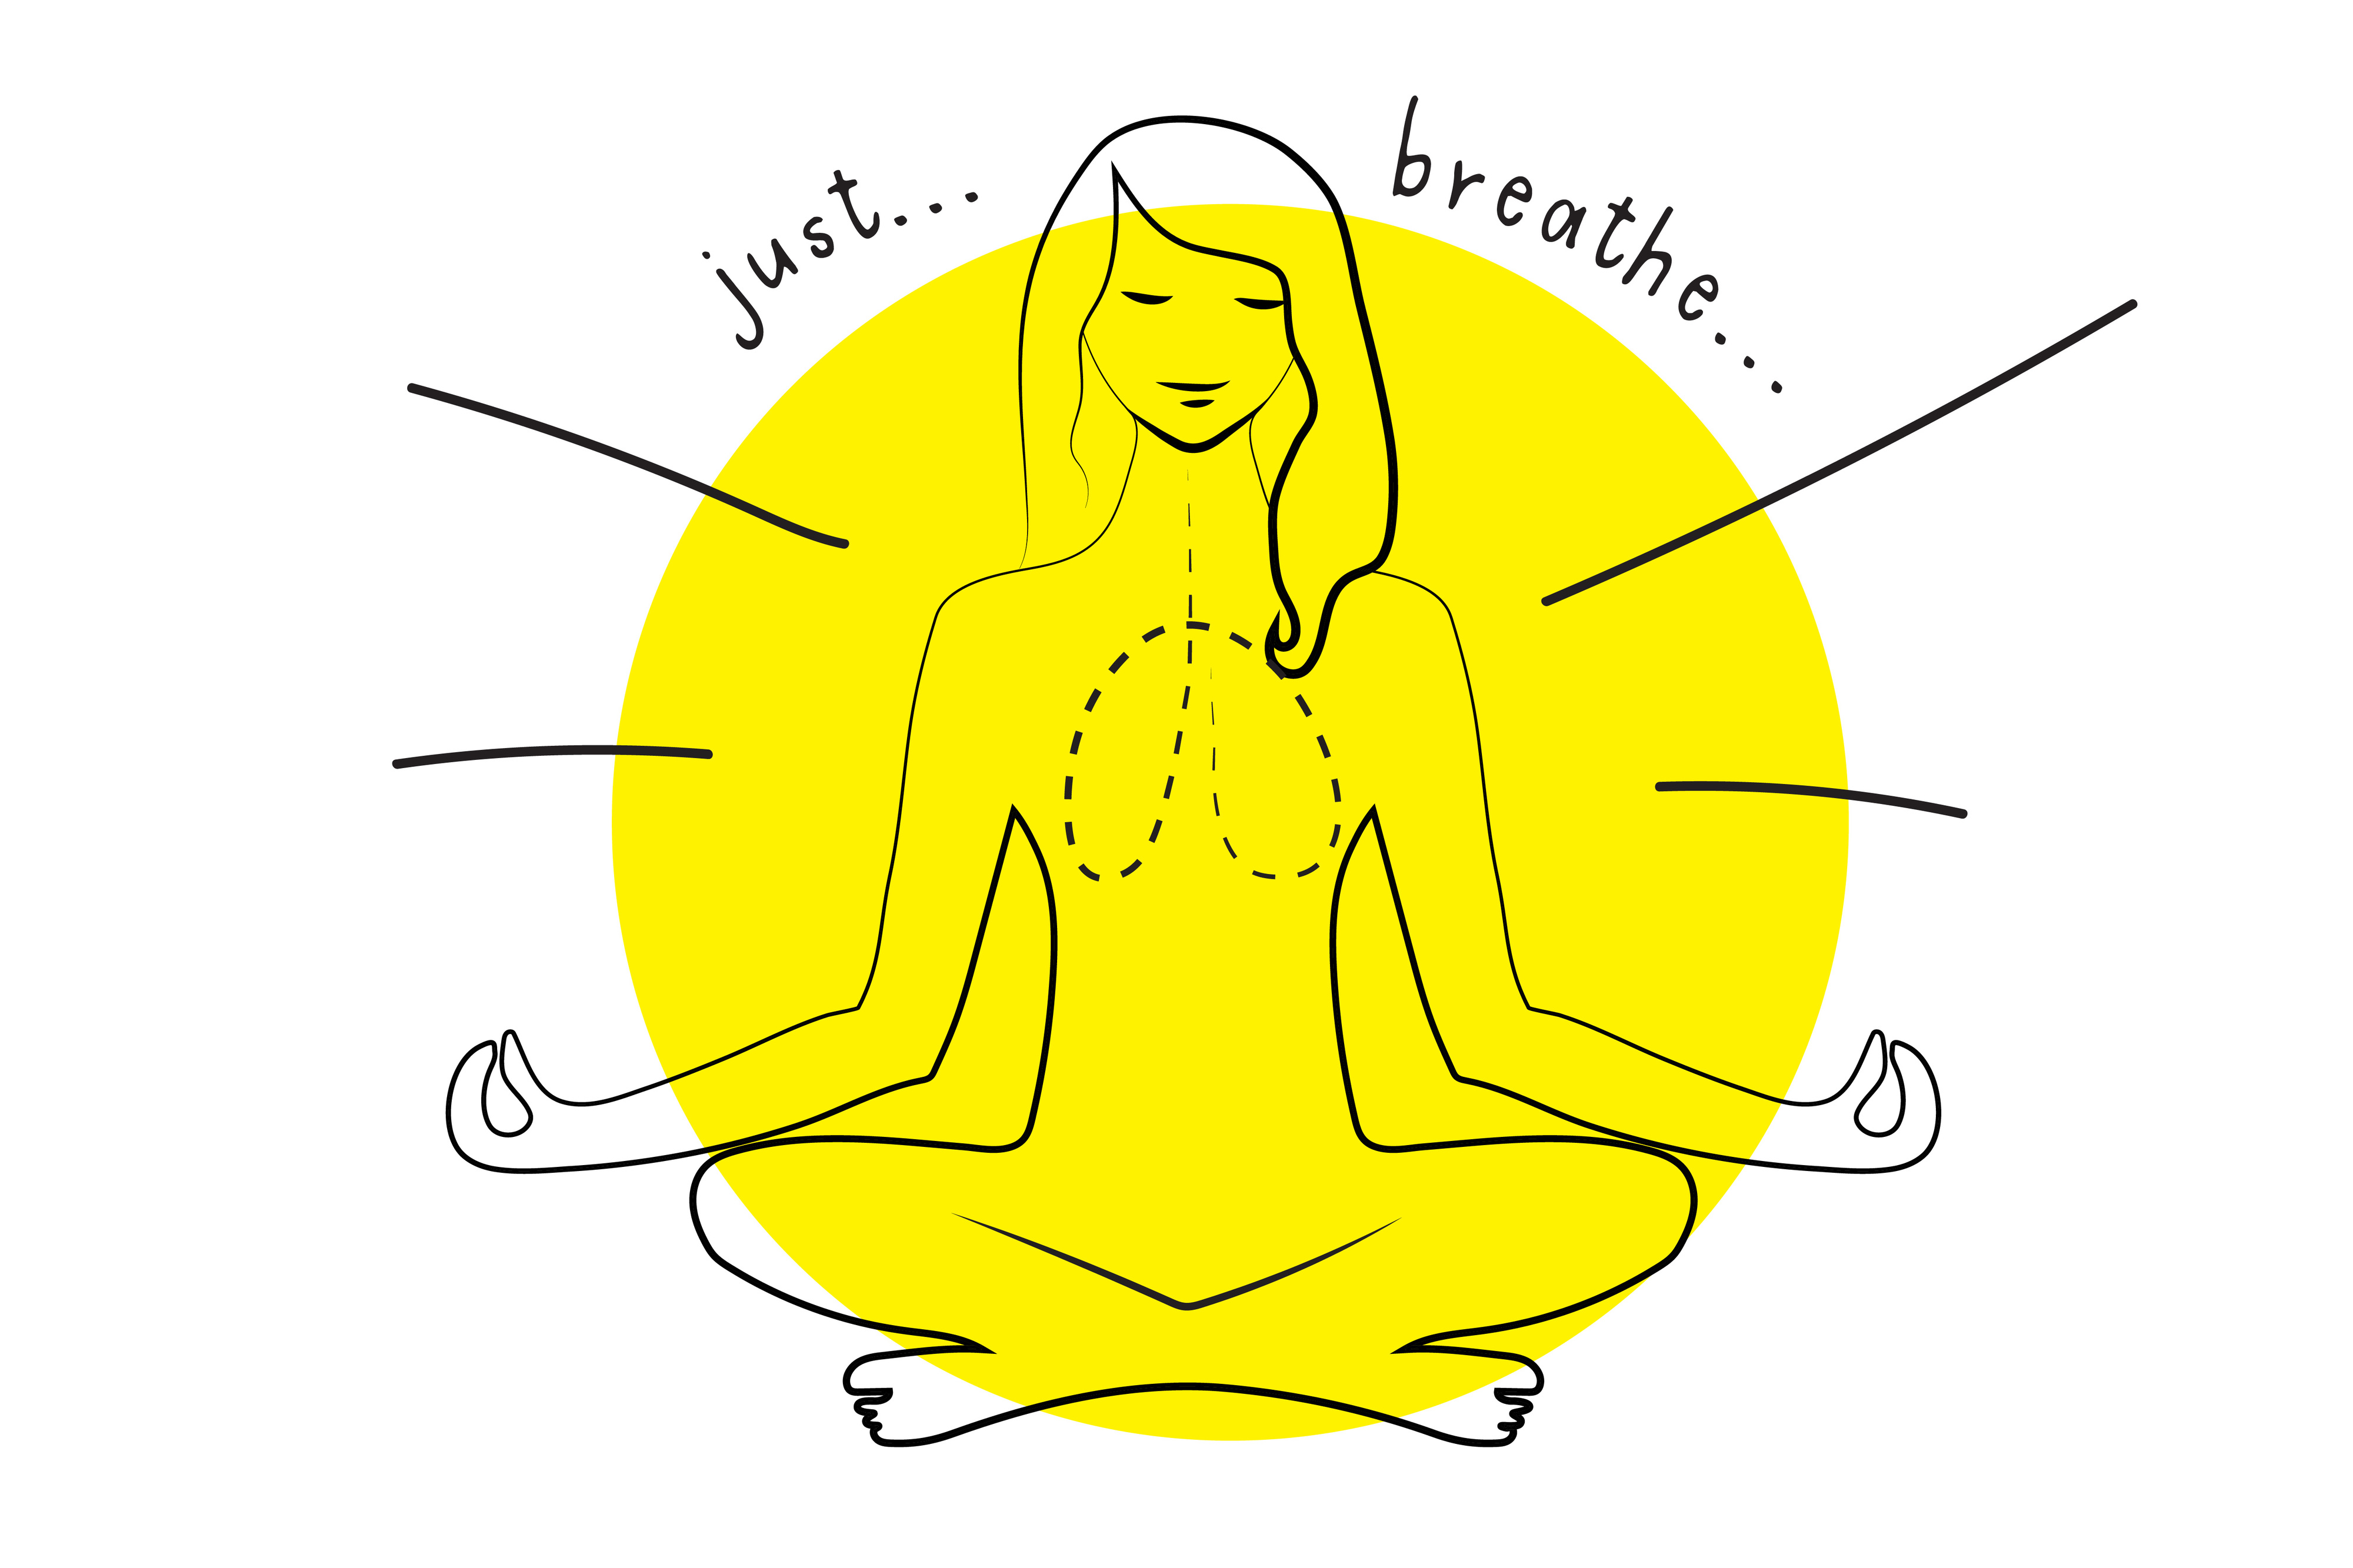
-Bring one palm to rest on the belly and the other to rest on your chest.
-Start with Breathing deeply into the belly area, imagining it is a balloon and filling it up smoothly with air (feeling the hand on the stomach rising).
-Gently exhale all the air from your lungs.
-With your next inhalation; fill the lungs up again fully (feeling the stomach rise), after the belly is full continuing with the same inhalation adding a bit more oxygen using the diaphragm (now feeling the hand on the chest rise and the ribs expand outwards).
-With your expiration, reverse the parts. First exhale from the diaphragm and then from stomach (feeling the hand placed on chest first fall followed by the hand on stomach)
-The next steps sees the third part being added. We begin as we have, inhaling into the stomach, then diaphragm before adding a final sip of breath into the highest part of our chest (the space under our collarbones lifts with the third part)
-Retracing your steps; we exhale in reverse order. The collarbones come down with the first part of the exhalation, then the diaphragm lowers, followed by the stomach.
Above all make sure that you are not straining! Experiment with how deep you can make this breath: see how much oxygen you can take into each area without it become tricky.
Through practicing watch the progress as your breaths become deeper. Eventually let the thought of the ‘steps’ be removed leaving a smooth and continuous breath that enters and exits the three areas in turn. If you notice yourself in any way uncomfortable, focusing too hard or retaining the breath, come back to a natural breath or just do the first couple of steps.
Happy practicing :-)